
Add a new user
Navigate to the Users settings
Section titled “Navigate to the Users settings”Additional information
- Click Settings
- Click ACCOUNT SETTINGS
- Click Users
Access the Users screen
Section titled “Access the Users screen”Clicking + Invite a User opens new dialog. This panel is divided into two sections: the left side for entering email addresses, and the right side for configuring access settings.
Additional information
- Click on + INVITE A USER
Who Would You Like to Invite? (Left Panel)
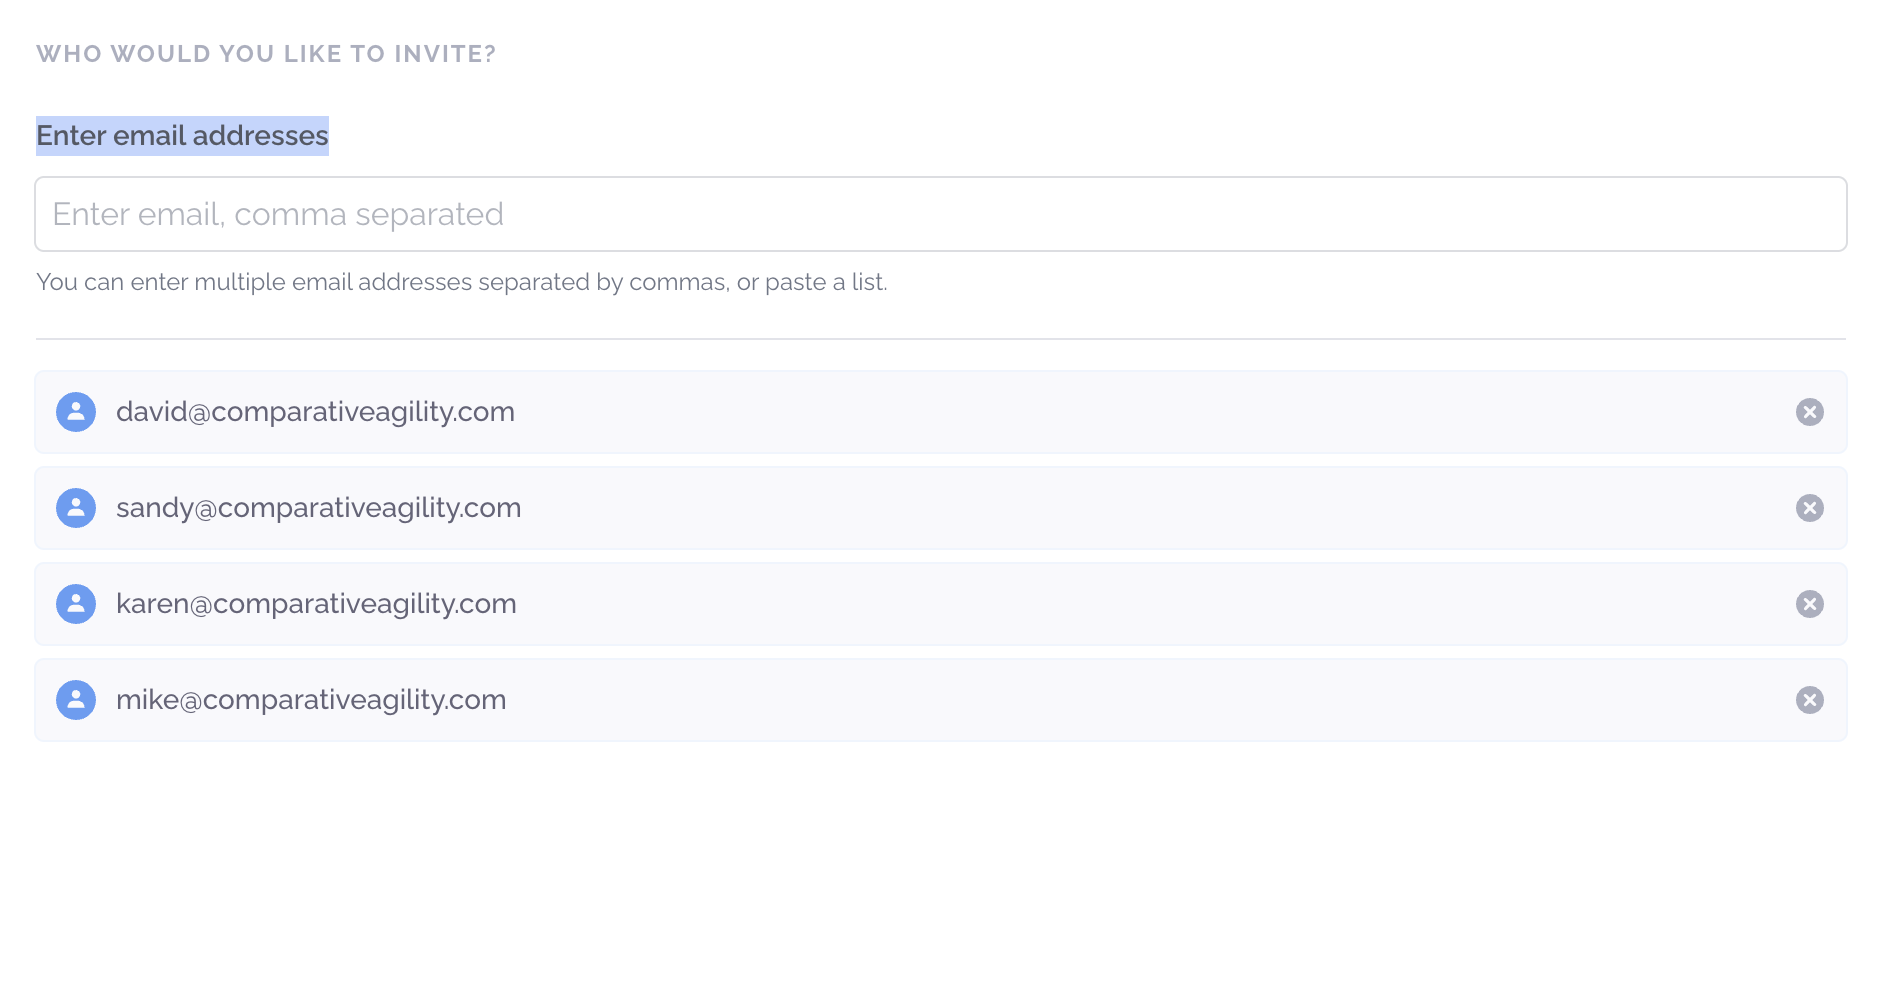
Section titled “Who Would You Like to Invite? (Left Panel)”Enter email addresses - Type one or more email addresses into the text field. As you add addresses, they appear below the field for confirmation.
Access Configuration (Right Panel)
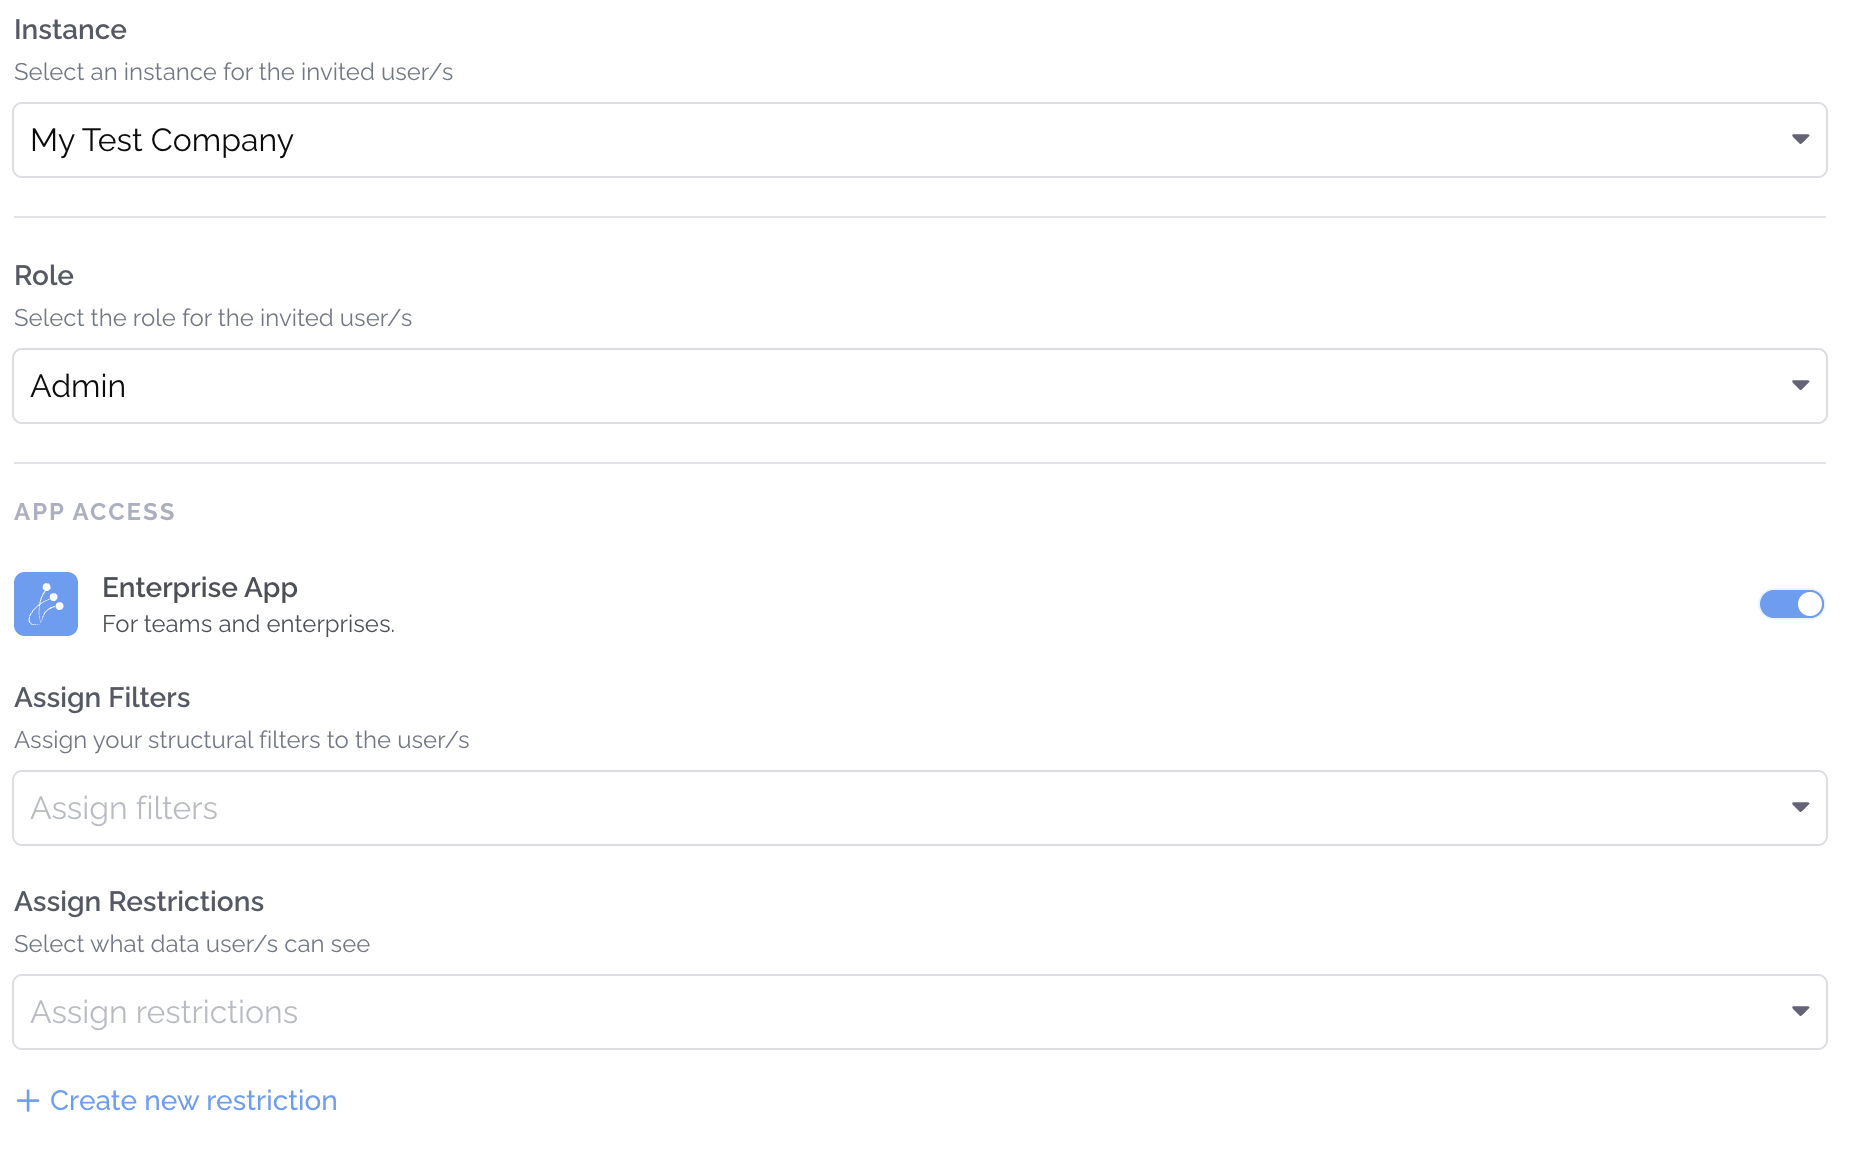
Section titled “Access Configuration (Right Panel)”Instance — Select which organizational instance the invited user/s will be assigned to (e.g., “My Test Company”).
Role — Select the role for the invited user/s. The role determines their level of access and permissions across the platform. Options typically include Admin and Owner.
Assign Filters — Assign structural filters to the user that will control which data segments they can view within the Enterprise App.
Assign Restrictions — Select what data the user is permitted to see. You can also click + Create new restriction to define a new restriction rule from scratch.
App Access Section (Right Panel)
Section titled “App Access Section (Right Panel)”This section lets you control which applications the new user can access. Each app has a toggle switch to enable or disable it:
Enterprise App (For teams and enterprises) — Toggle this on to grant access to the main Comparative Agility enterprise features.
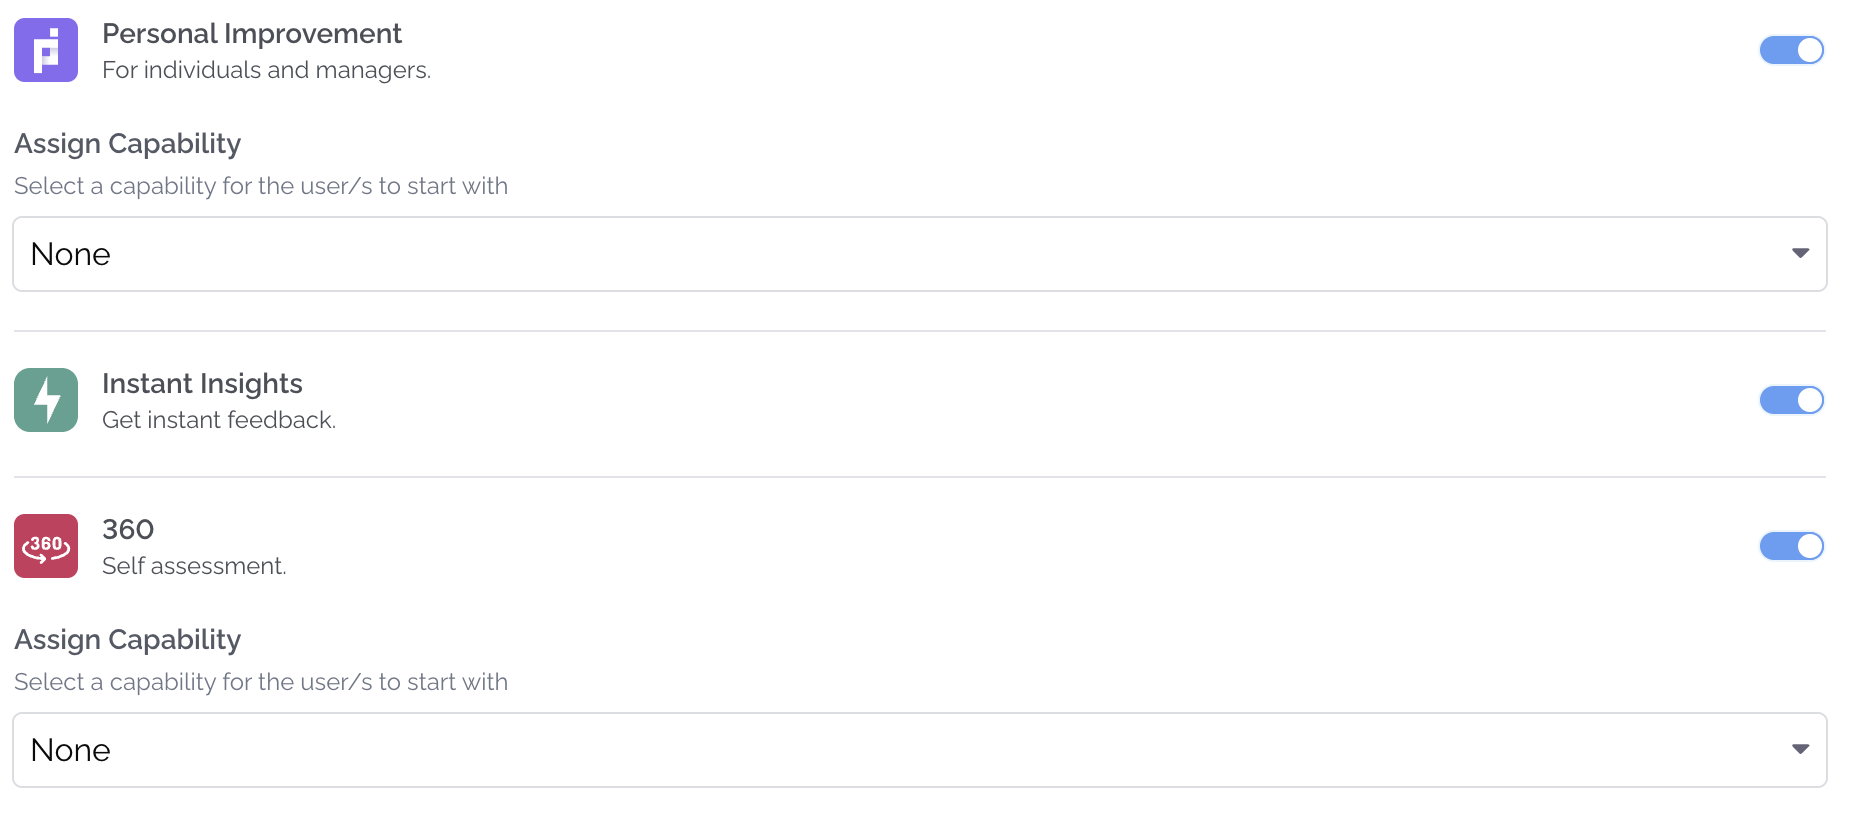
Personal Improvement (For individuals and managers) — Toggle this on to give the user access to the Personal Improvement application.
- Assign Capability — Select a starting capability for the user from the dropdown (default is None).
Instant Insights (Get instant feedback) — Toggle to enable this app for the user, providing access to real-time feedback tool.
360 (Self assessment) — Toggle to grant access to the 360-degree self-assessment module.
- Assign Capability — As with Personal Improvement, select a capability level for the user to start with (default is None).
Default App (Right Panel)
Section titled “Default App (Right Panel)”Use this setting to select the default application a user will see the next time they log in.
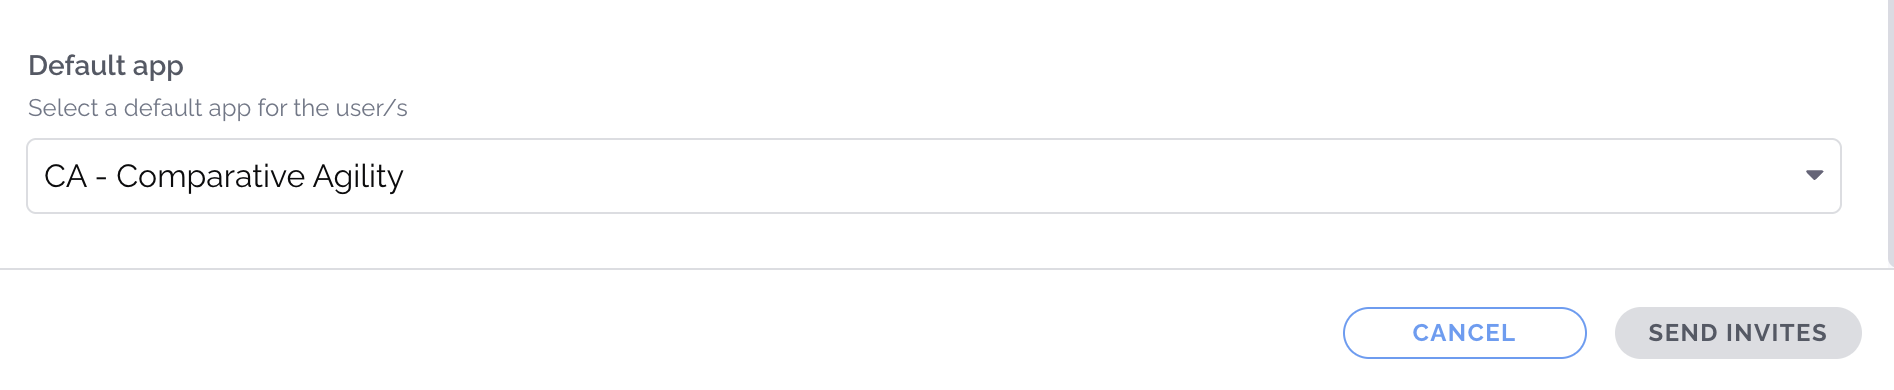
At the end make sure to click SEND INVITES